
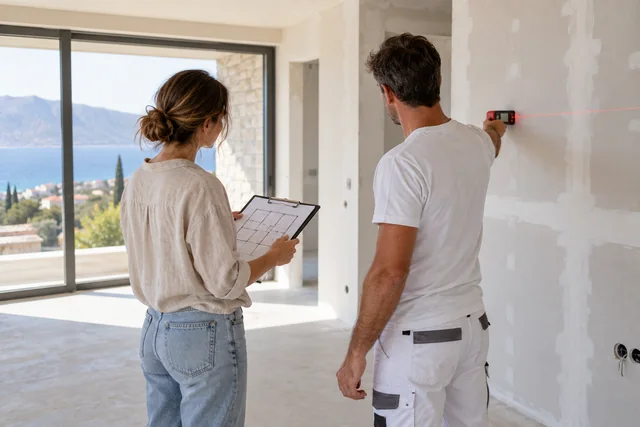
Inspecting the existing floor
Choosing a floor system for the existing structure and the way the room will be used.
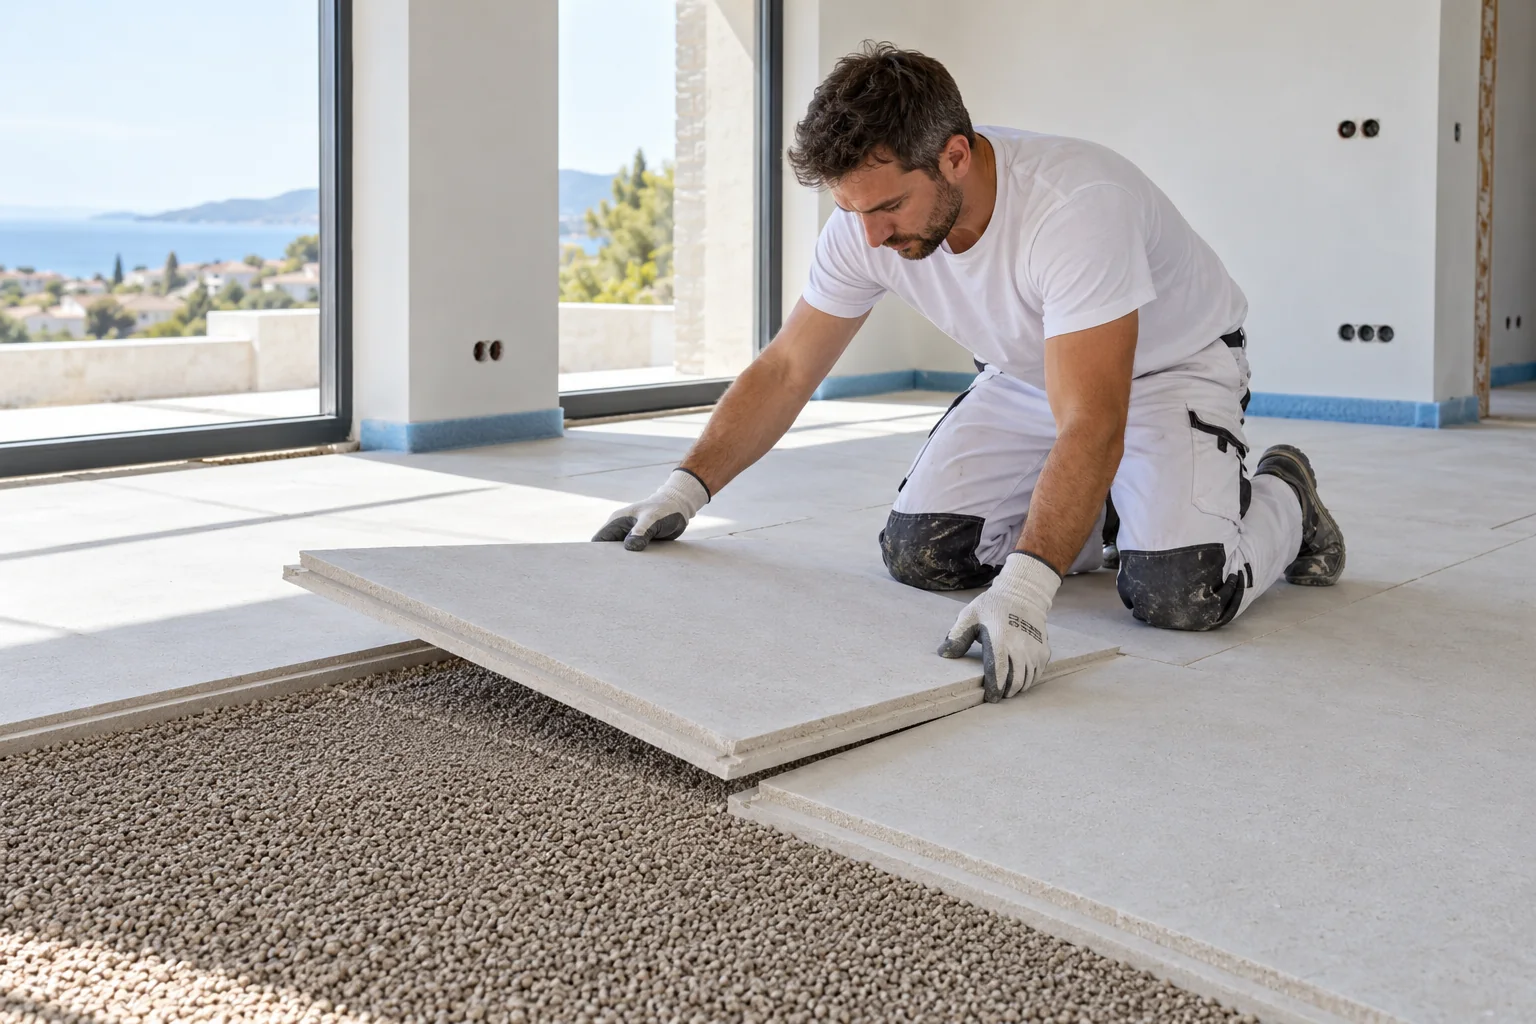
Choosing a floor system for the existing structure and the way the room will be used.
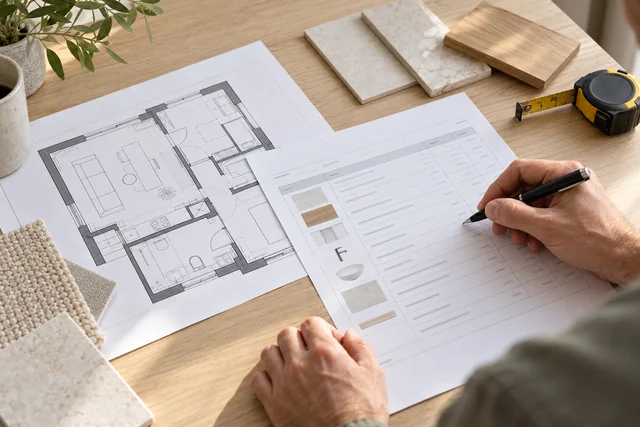
Checking how much height is available at doors, stairs and adjoining rooms.
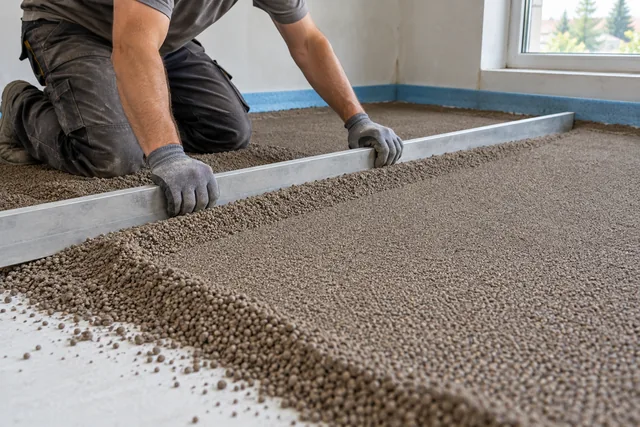
Preparing the substrate and levelling layers for the chosen system.
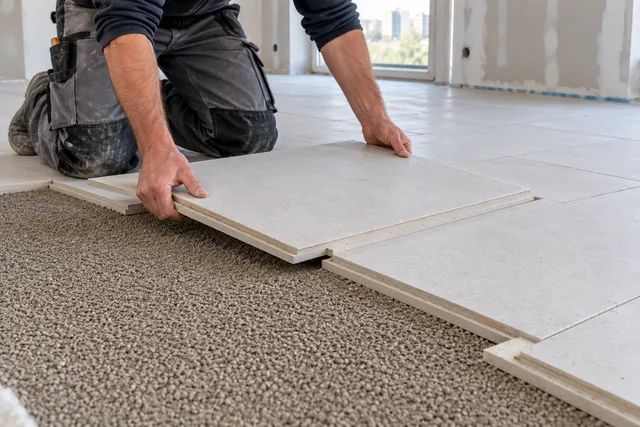
Installing dry floor elements and finishing joints and edges.
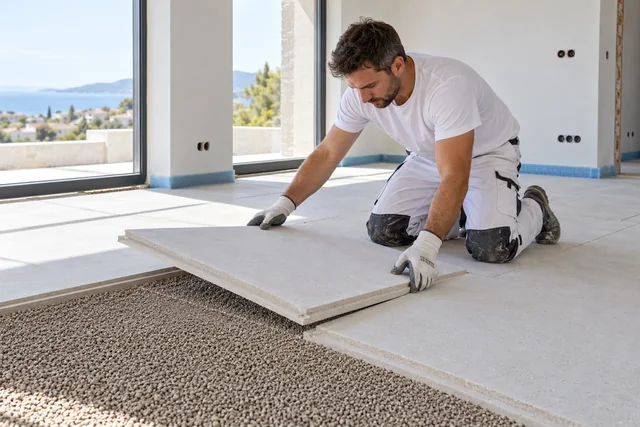
Planning insulation and other layers to match the design and chosen system.

Preparing the floor for the chosen covering within the agreed scope.
Older buildings in Rovinj may call for a closer look at the existing floor structure. Photos of the layers and details you plan to remove help us assess a system that suits the substrate, access and design requirements.
More about this service ↗
Start with the property location, the work you have in mind and approximate measurements. We'll take it from there.
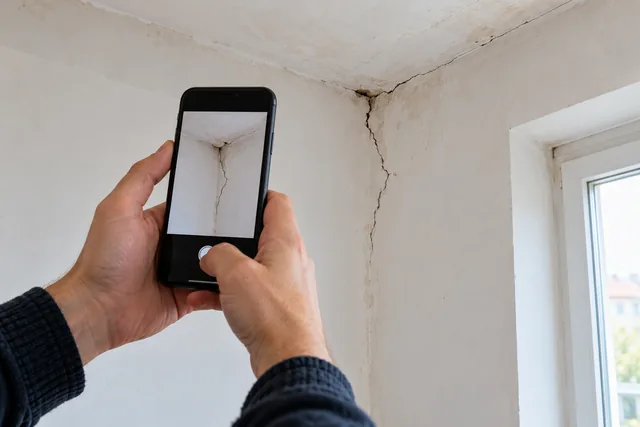
Send photos of the existing space and the parts you want to change. A floor plan helps if you have one.
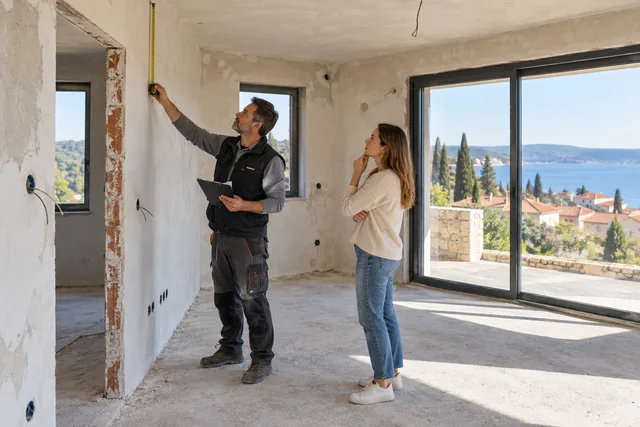
We inspect the property, including existing surfaces, access and the details that may affect the job.
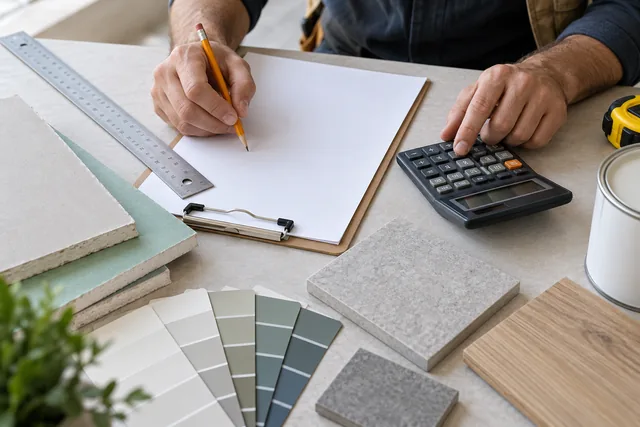
Your quote sets out the work, materials and the basis for the quantities.
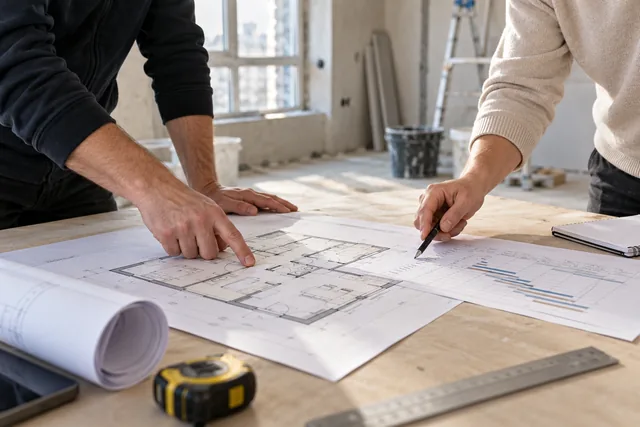
Before starting, we settle the work, timing, materials and how we'll stay in touch.
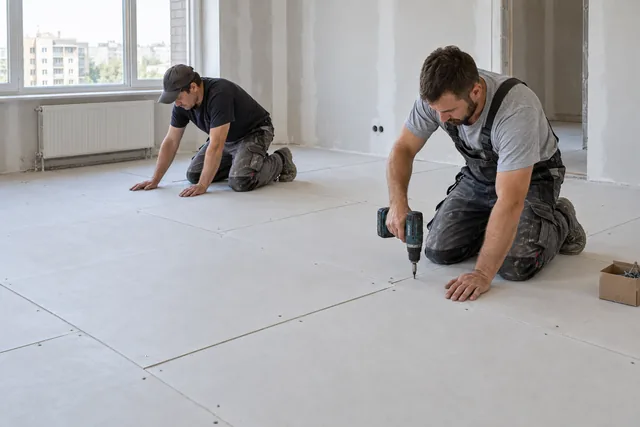
We work through the agreed stages and discuss any changes before carrying them out.
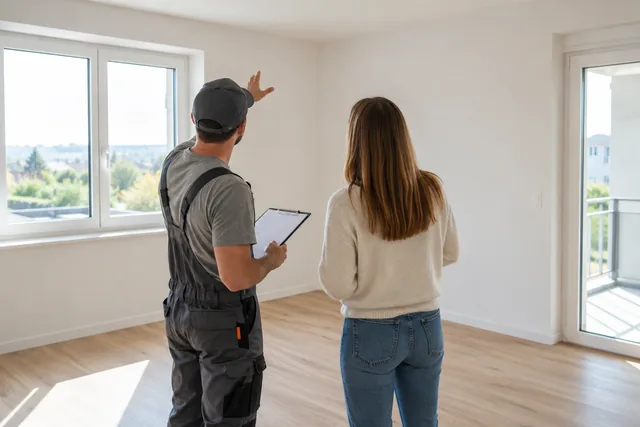
At the end, we check the completed work and finishing details together.
Suitability depends on the condition and properties of the structure and the selected system. The substrate and design requirements must be checked first.
It depends on the structure, substrate, intended use and chosen covering. Send photos and the available floor height for an initial discussion.
Overall height depends on the layers and levelling required. We determine it for the specific room and system.
We check that the chosen floor system and manufacturer's guidance support the covering. Tell us what you plan to install.
Tell us a little about the property and what you want to do. We'll talk through the work and arrange a visit if needed.
info@build-grupa.hr