
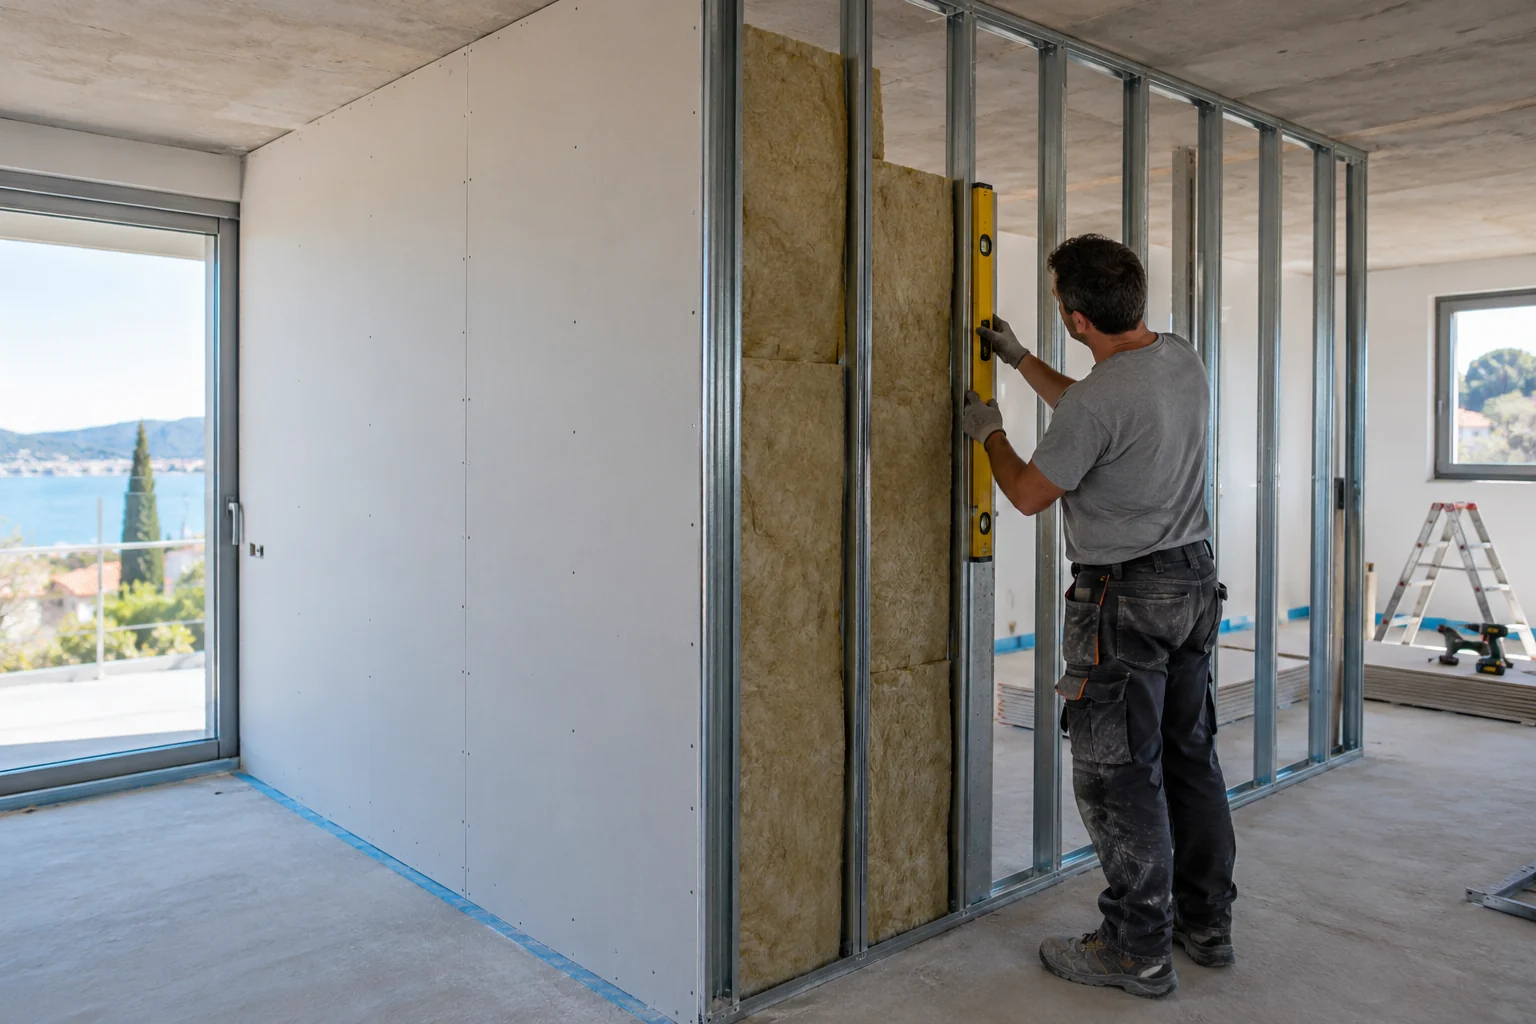
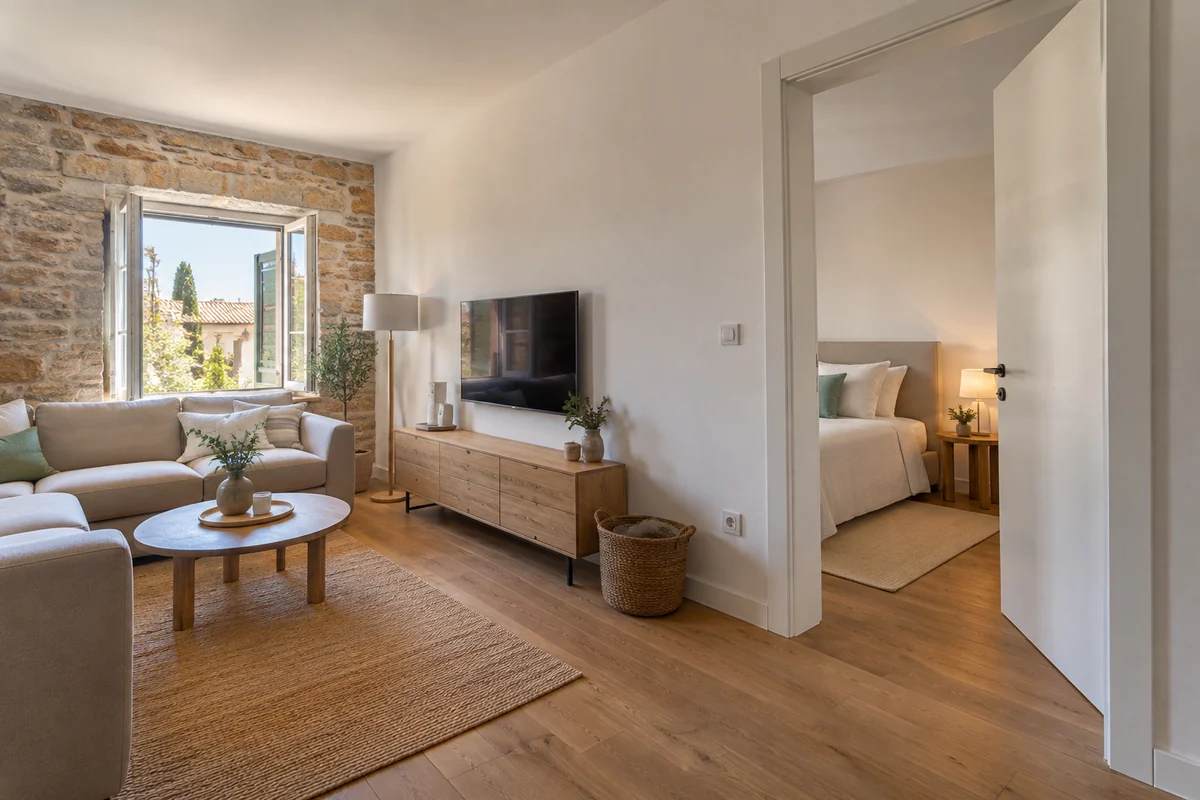
Suppose you divide a large sitting room to create a bedroom. The new wall looks spotless, the furniture fits and you have gained a room. Then, on the first evening, the television on the other side turns out to be rather too easy to hear.
Start with what you need from the new room. A cupboard off a hallway and a bedroom beside a living room need different wall specifications. Explain how you will use both sides before agreeing the thickness, so the quote responds to your space.
A 100 mm wall can mean two different things
The nominal thickness of a single-frame partition is the stud width plus the plasterboard on both faces. Using 12.5 mm boards, these are straightforward examples:
| Build-up | Nominal thickness |
|---|---|
| 50 mm studs, one board on each face | 75 mm |
| 75 mm studs, one board on each face | 100 mm |
| 50 mm studs, two boards on each face | 100 mm |
| 75 mm studs, two boards on each face | 125 mm |
These figures exclude additional finishes such as tiles. Notice the two 100 mm options: identical overall dimensions, different constructions. Neither the price nor the acoustic performance can be judged from thickness alone.
Specify the assembly, not just “thicker plasterboard”
Sound insulation depends on the lining mass, the distance between the faces, the frame, the cavity insulation and the connections. Making one component bigger does not tell you how the complete wall performs.
If someone suggests a thicker wall, ask what changes: wider studs, another board layer, a different board or a separate frame arrangement? Ask for an identified system and its published performance, rather than relying on a promise that more centimetres will solve everything.
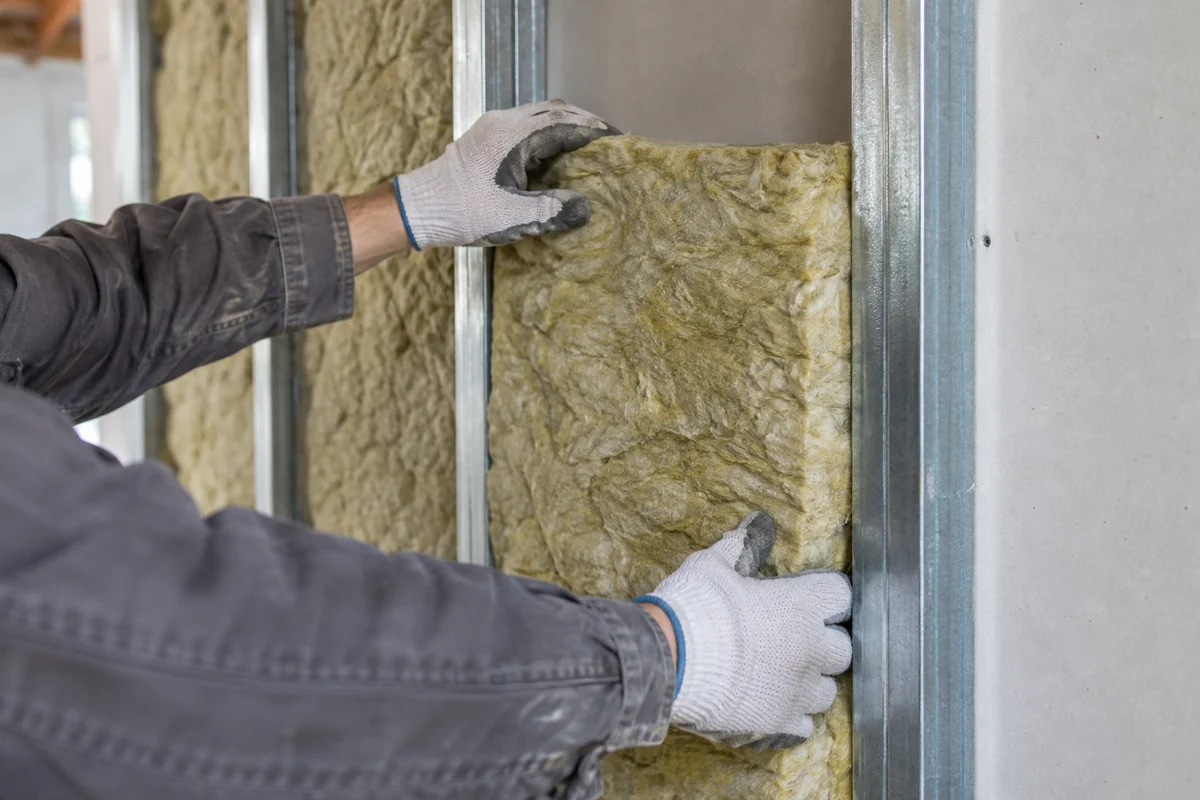
Mineral wool needs a proper fit
The cavity insulation absorbs sound. It should be a product suitable for this application, installed to the chosen specification without gaps or loosely fitted offcuts.
If you manage refurbishment from abroad, ask for photographs before the second face is closed. That is the useful moment to see the insulation, services and framing. A photograph of the painted wall comes too late for those checks.
Stuffing extra wool into a cavity is not a substitute for following the system details.
Check where the wall actually stops
Sound can travel around a partition through adjoining floors, walls and ceilings. Imagine a wall stopping at a suspended ceiling while an open void continues over both rooms. The sound has a route around the new lining.
Have the floor and ceiling junctions checked as well as the proposed wall line. Include junction work in your plan, particularly where an existing screed remains. Adding another board afterwards may leave the real weakness untouched.
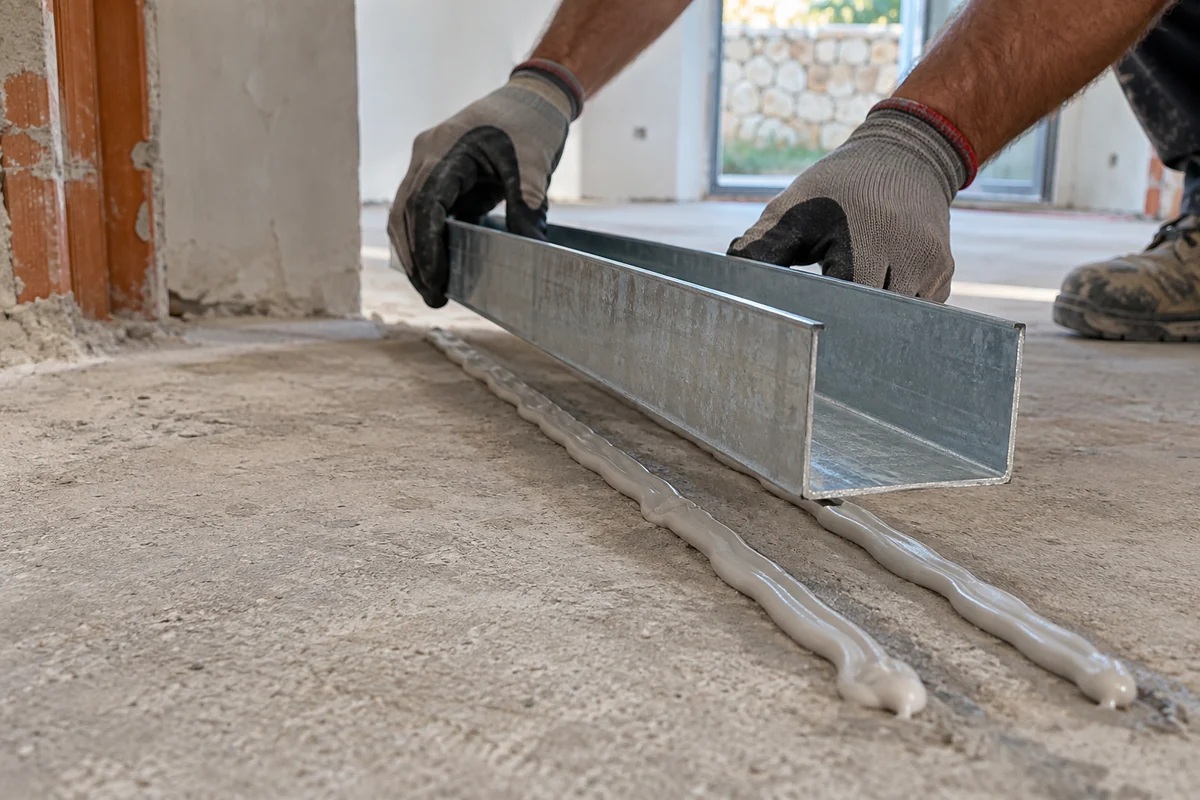
Small junctions deserve attention
Perimeter sealing belongs in the installation specification. Knauf’s instructions call for thorough sealing with the appropriate compound where acoustic performance is required. Simply covering the visible edge with finishing compound later is a different operation.
Ask for those connections to be checked while they remain accessible. A neat coat of paint tells you very little about them.
Include the door and the electrician
A carefully specified partition can still be let down by a lightweight door or an unsealed gap beneath it. For your bedroom, include the door leaf, frame and sealing in the initial specification.
Socket positions and pipe penetrations also need coordination. Opposing sockets should be checked against the system detail; the electrician and drylining team need one agreed arrangement.
Catalogue decibels are a starting point
Rw is a laboratory sound reduction rating for a particular construction. It is not automatically the sound insulation achieved between completed rooms. Flanking paths, openings and workmanship affect the building result.
The assemblies and acoustic limitations are set out in Knauf W11.hr (06/2026). These manufacturer instructions apply to the specified Knauf systems.
An impressive catalogue rating alone does not mean the television next door will be inaudible in your bedroom. Use the rating to help select the assembly, then have the site details assessed as well.
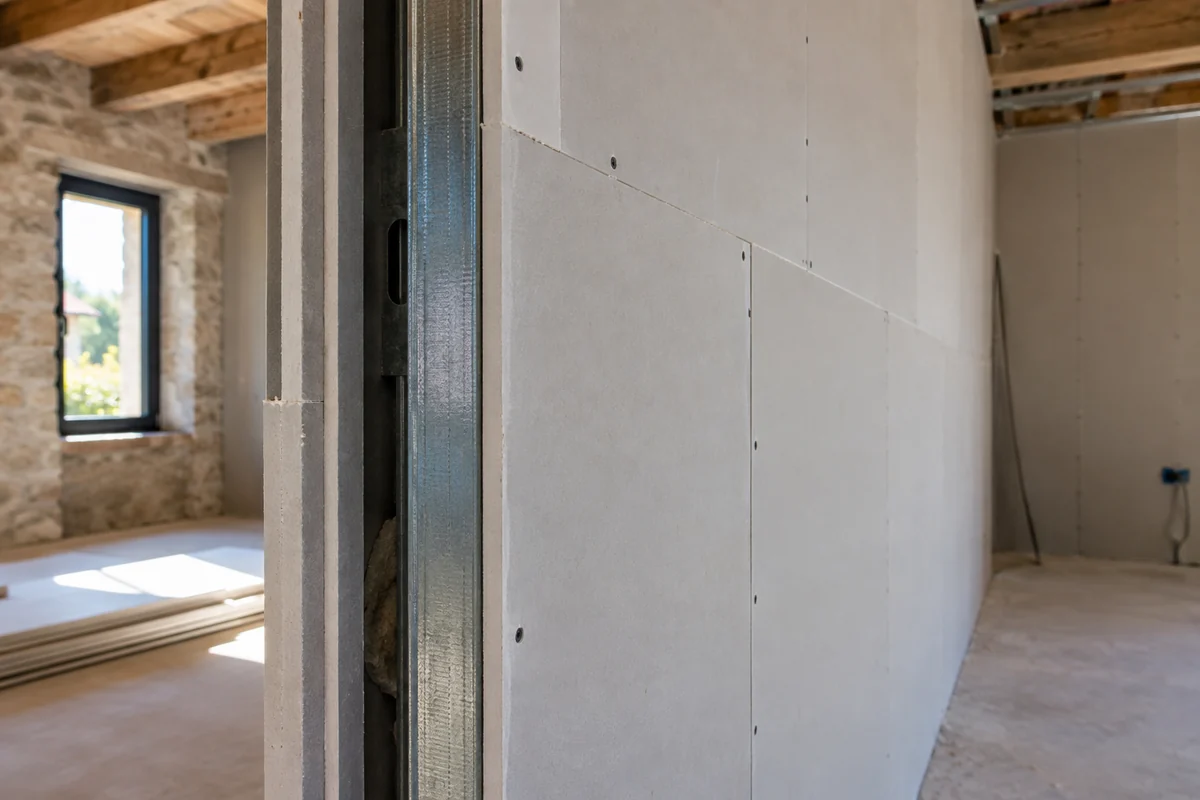
Plan height, fittings and finishes together
Before settling the thickness, specify the wall height, door location, services and any suspended cupboards or sanitary fittings. Suitable supports and fixings should be planned before boarding.
A division between separate flats requires its own project requirements, including fire protection. It should not be treated as an ordinary bedroom partition with a little extra wool.
Ask for a build-up in the quotation
The quote should identify the wall system, stud arrangement, board types and layers, insulation, junction treatment, openings and finish. Only then can you compare contractors on the same basis.
At BUILD GRUPA, we select the partition for its intended use and install the specified Knauf system with the required components. Send us photographs, approximate dimensions and a note explaining what each room will be used for. Include the door position and anything you intend to hang on the wall. That gives us a practical starting point for your Istrian home.